GS:Print Receipt Window: Difference between revisions
Jump to navigation
Jump to search
No edit summary |
No edit summary |
||
| Line 3: | Line 3: | ||
[[Image:PrintReceipt1.gif|500px|Image:PrintReceipt1.gif|500px]] | [[Image:PrintReceipt1.gif|500px|Image:PrintReceipt1.gif|500px]] | ||
Enter the Receipt number, if known. Or else you can enter a Purchase Order # in the PO # field, if the number is known. | Enter the '''Receipt number''', if known. Or else you can enter a Purchase Order # in the '''PO #''' field, if the number is known. | ||
Once the Receipt # or the PO # has been entered, highlight the <OK> button and press | Once the Receipt # or the PO # has been entered, highlight the "<OK>" button and press "Enter". | ||
When you are finished printing receipts, press <Back> or | When you are finished printing receipts, press "<Back>" or "Esc" to return to the Generate Reports menu. | ||
No window settings for this window. | No window settings for this window. | ||
Latest revision as of 22:37, 25 June 2006
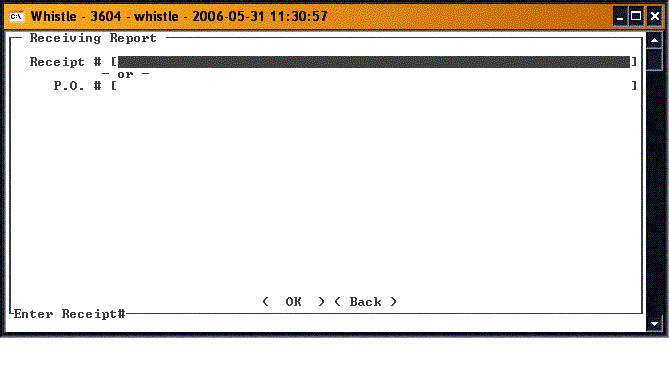
Use this window to print a Receipt Report.
Enter the Receipt number, if known. Or else you can enter a Purchase Order # in the PO # field, if the number is known.
Once the Receipt # or the PO # has been entered, highlight the "<OK>" button and press "Enter".
When you are finished printing receipts, press "<Back>" or "Esc" to return to the Generate Reports menu.
No window settings for this window.
